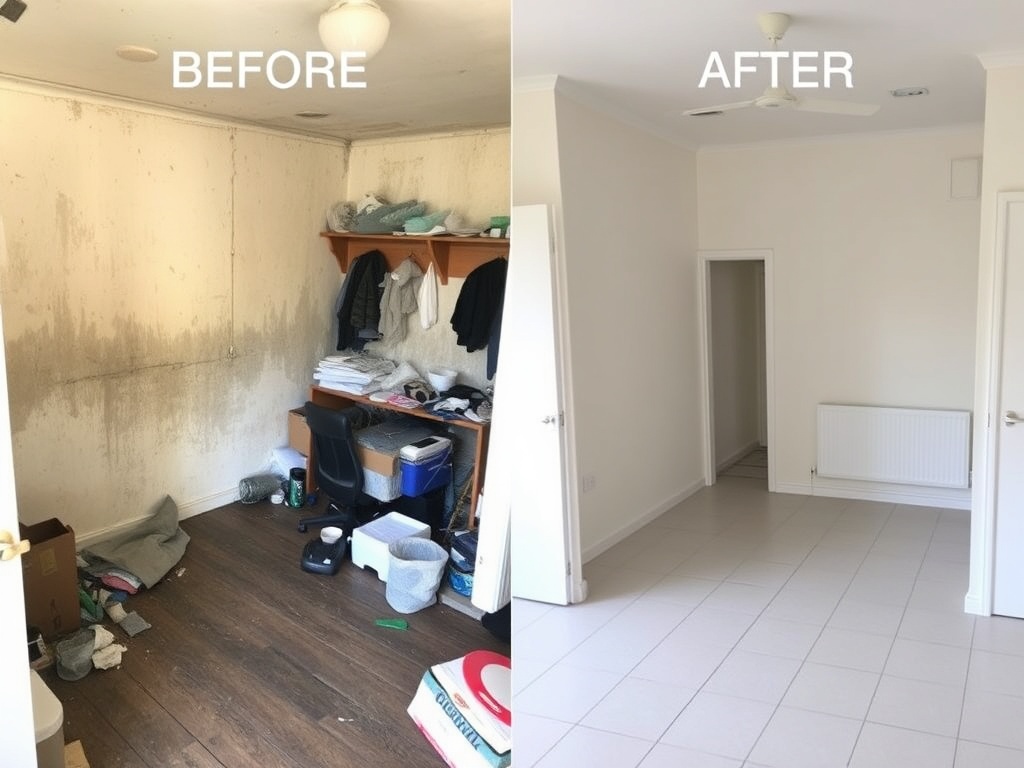
Moving out of a rental property in Adelaide? Your bond cleaning isn’t just about tidying up — it’s about meeting specific landlord expectations. This detailed checklist ensures your property passes inspection and you get your full bond back.
Understanding Your Bond Cleaning Obligations
Before diving into the checklist, understand that Adelaide landlords and real estate agents have strict standards. “Clean” doesn’t mean the same thing to them as it does to casual cleaners. They’re looking for professional-grade cleanliness.
Pre-Cleaning Preparation
Before You Start:
- Take photos of the empty property for your records
- Read your lease agreement for specific cleaning requirements
- Check the property inspection checklist from your agent
- Identify any damage or stains to tackle
- Get professional equipment if attempting DIY
- Allow 1-2 days for cleaning (or hire professionals)
The Complete End-of-Lease Cleaning Checklist
Living Areas & Bedrooms
Floors:
- Vacuum all carpets thoroughly (including under furniture, into corners)
- Mop/clean all hard floors (no dust or debris visible)
- Check for and remove all stains
- Polish hard floors if originally polished
- Steam-clean carpets if needed
Walls & Surfaces:
- Wipe down all walls, removing marks and scuffs
- Clean door frames and handles thoroughly
- Wipe down window sills and frames
- Clean all light switches and power outlet covers
- Remove any adhesive from posters/furniture
- Dust ceiling fans and light fixtures
- Clean air vents and returns
Windows:
- Clean interior glass thoroughly (streak-free)
- Wipe window sills and frames
- Clean window tracks
- Exterior windows (if possible and required)
- Polish window hardware
Baseboards & Skirting:
- Wipe all skirting boards clean
- Remove marks and scuffs
- Check for cobwebs
Kitchen - The Critical Room
Kitchen is the most heavily inspected area. Any grease, stains, or debris = failed inspection.
Appliances:
- Oven: Interior and exterior spotless, racks clean
- Stovetop: Completely grease-free, burner plates clean
- Microwave: Interior and exterior cleaned
- Refrigerator: Interior and exterior cleaned, any frost/ice removed
- Dishwasher: Interior and exterior cleaned
- Rangehood: Filters cleaned or replaced
Cupboards & Drawers:
- Interior cleaned (no grease, food, or debris)
- Shelves wiped and dry
- Handles cleaned
- No sticky residue inside or out
- Doors cleaned (inside and out)
Bench Tops & Sink:
- All benches cleaned and sanitized
- Sink cleaned thoroughly (no stains, rust, or water spots)
- Tap cleaned and shining
- No grease or residue anywhere
- Backsplash cleaned
Walls & Doors:
- Walls cleaned of any splashes or marks
- Kitchen door cleaned (frequently touched area)
- Light fixture cleaned
Bathrooms - Second Most Important
Tiles & Grout:
- Shower/bath tiles cleaned
- Grout lines whitened and clean
- No mold or mildew visible
- Floor tiles spotless
Shower/Bath:
- Interior completely clean and gleaming
- Fixtures polished (chrome shining)
- Grout sealed if required
- Drain clean and free of hair
- Soap scum removed
Toilets:
- Interior and exterior spotless
- Seat cleaned thoroughly
- Base cleaned and no water rings
- Cistern cleaned
- Hinges polished
Vanity & Sink:
- Basin cleaned (no soap scum or water spots)
- Tap polished
- Drawers cleaned inside
- Cabinet doors wiped
- Mirror spot-free
Walls & Surfaces:
- Walls cleaned of moisture/mildew marks
- Light fixtures cleaned
- Exhaust fan cleaned
- Light switches cleaned
Laundry Area
- Washing machine cleaned inside and out
- Floor cleaned thoroughly
- Any laundry residue removed
- Shelving wiped clean
Hallways & Entryways
- Floors vacuumed and mopped
- Doors cleaned (especially frequently touched doors)
- Light switches cleaned
- Door frames wiped
- Ceiling light fixtures cleaned
Outdoor Areas (If Applicable)
- Patio/deck swept and cleaned
- Lawn mowed short
- Garden beds tidy (remove dead plants)
- Gutters clear of debris
- Entrance area clean and welcoming
- Pathways swept
Common Issues That Cause Failed Inspections
Pet Damage
- Odors: Professional odor elimination needed
- Stains: Carpet cleaning/replacement may be required
- Hair: Thorough vacuuming and lint rolling
Grease & Grime
- Kitchen grease buildup is the #1 reason for failed inspections
- Use degreaser on kitchen surfaces
- Professional oven cleaning recommended
Mold & Mildew
- Particularly in bathrooms
- Check behind doors, under sinks
- May require professional remediation
Scratches & Damage
- Document pre-existing damage with photos
- Don’t attempt to hide damage
- Disclose to landlord before inspection
Carpet Issues
- Stains, odors, or heavy wear
- Professional carpet cleaning often required
- Burns or tears may need replacement
DIY vs Professional End-of-Lease Cleaning
DIY Approach Challenges:
- ❌ Difficult to achieve professional standards
- ❌ Takes 12+ hours of your time
- ❌ Easy to miss inspection-critical areas
- ❌ DIY products less effective than commercial-grade
- ❌ High risk of failed inspection and lost bond
Professional Bond Cleaning Advantages:
- ✅ Guaranteed landlord inspection standards
- ✅ Professional equipment and products
- ✅ Completed in 1 day
- ✅ Bond-back guarantees
- ✅ Often cheaper when factoring in your time
Professional End-of-Lease Cleaning Timeline
2 Weeks Before Moving Out:
- Get cleaning quote
- Identify specific cleaning needs
- Book professional cleaners if using
1 Week Before:
- Remove all personal items
- Deep-clean as you pack
- Alert cleaners to any damage
Final Week:
- Do light touch-ups
- Arrange final professional clean (1-2 days before inspection)
- Take final photos
Moving Day:
- Close-out utilities
- Final walkthrough
- Meet with cleaners if on-site
How to Get Your Full Bond Back
- Know the standards — This checklist details exactly what landlords expect
- Start early — Don’t wait until moving day
- Use professionals — Bond cleaning isn’t a DIY job
- Get a guarantee — Choose cleaners offering bond-back guarantees
- Document everything — Keep photos and communications
- Get it in writing — Ensure cleaning schedule and what’s included
Get Professional End-of-Lease Cleaning in Adelaide
YD Commercial Cleaning specializes in bond cleaning throughout Adelaide. Our teams understand exactly what Adelaide landlords and agents inspect for — we’ve completed hundreds of successful bond cleans.
We offer:
- Professional teams trained in bond cleaning standards
- All commercial-grade equipment and products
- 100% bond-back guarantee
- Flexible scheduling (1-2 day turnaround)
- Complete property cleaning in 1 visit
Don’t risk your bond. Get professional end-of-lease cleaning and move with confidence.
Get your free bond cleaning quote today!